
I was on Pinterest (in case you didn't already know, you can pin any photos on my blog by hovering over and clicking the button on the top left corner) and found this really interesting DIY. I just got a new wardrobe and was thinking of how I would decorate it, and now, this is perfect! It is definitely not the easiest DIY I've ever done but it's one of my favourite and I think it would make a really great gift!
Things you'll need:
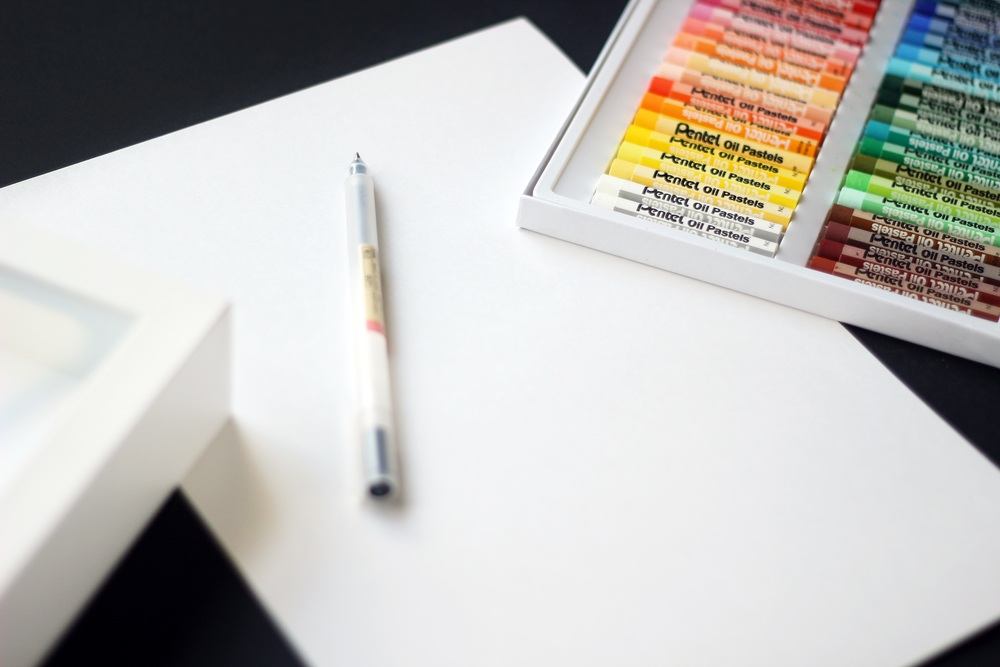
1. White glue
2. Paper - thick ones so the glue doesn't seep through
3. An old photo frame - preferably not the flat ones
4. Some crayons
5. Cutter/Knife/Scissors - anything that can cut the crayons
From left to right:
Step 1: Gather all your supplies!
Step 2: I'm using a frame from a package that I received from Skin Inc - posted about it here.
Step 3: Draw out the border of your frame, this is to make sure you know where to put your crayons.
Step 4: Choose an alphabet that you want and start placing your crayons, either all in the same shade/ombre/rainbow, about 0.6cm away from the border you have drawn.


Step 5 (not pictured): Once you've decided on your colour and arrangement you may start cutting your crayons and glue them down - this was the hardest part for me.
When all your crayons have been glued, let it lie flat for at least 24 hours before putting it in your frame and show it off to the world!
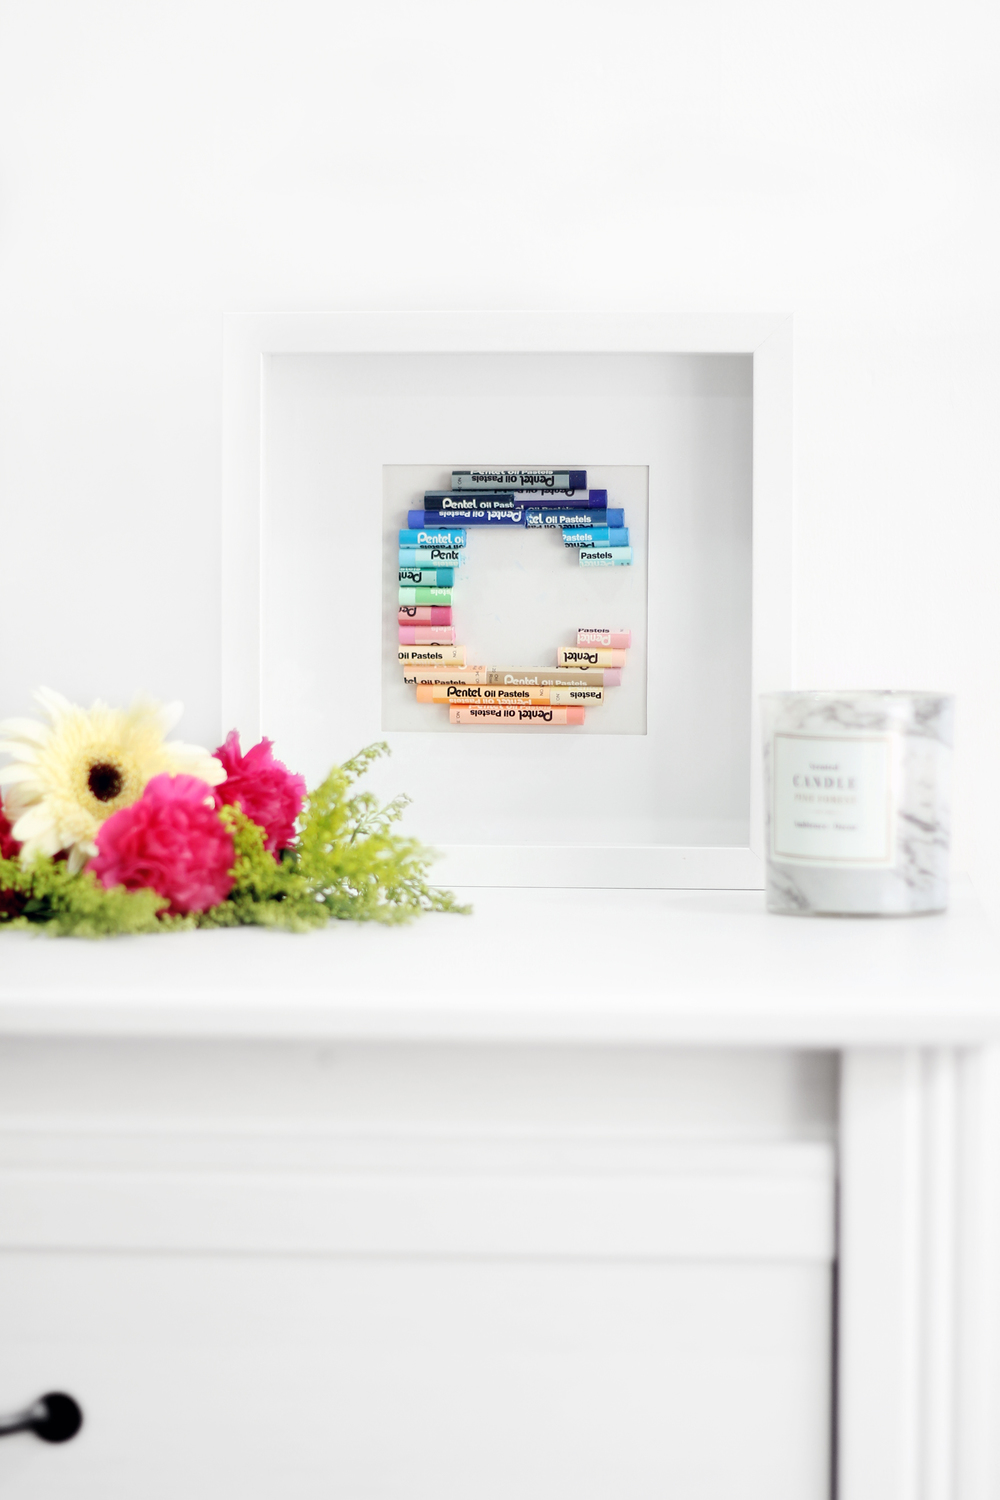
Voilà! Frame it up and you're good! I hope you found this idea to be an interesting one.
Stay gold, xx
No comments
Post a Comment