

Okay, so now you have an iPhone or a camera and want to start taking photos for Instagram or your blog but feel like it's lacking in something. Props are a great way to spruce up any photos! Everyone thinks I have lots of props to play with, well partially true, but a lot of my "props" are objects that I use on a daily basis as well. Over the years I've accumulated a fair bit of stuff, so I thought I would share with you guys some essential props that you can consider getting. Literally almost anything can be used as a prop, but what makes them good for photos? P/s: these props aren't huge investment items, and are mostly kept within the affordable range. Let's go!
First things first, identify your style. We each have our own personal style, so you may find some parts of this post less relevant. Personally, I love anything copper/rose gold, marble, white, beige so you'll find that most of my props belong to those hues.
💐 FLOWERS 
You probably see them way too often in my photos, because flowers not only add colours to the photo but also help fill up an empty space. I would recommend purchasing fresh flowers but if it's too much of a hassle and out of your budget you can always consider buying artificial flowers - zero maintenance and they last forever. Recently, I find myself adding more greens and plants into my photos because it helps to "neutralise" the overwhelming pink. Also, I love succulents but even then I can't keep them alive, so artificial succulents for me!
Tips for picking flowers: avoid flowers that have partially bloomed (duh), and feel their petals. If it feels limp, sad and droopy, it's probably been cut awhile ago and are about to wither soon. Flower crystals help prolong the life of your flowers, but only if they are still fresh of course.
Where to find: Supermarkets or flower markets for better deals. Generally good quality artificial flowers are slightly more expensive, but in the long run you will end up saving more money.
STATIONERY
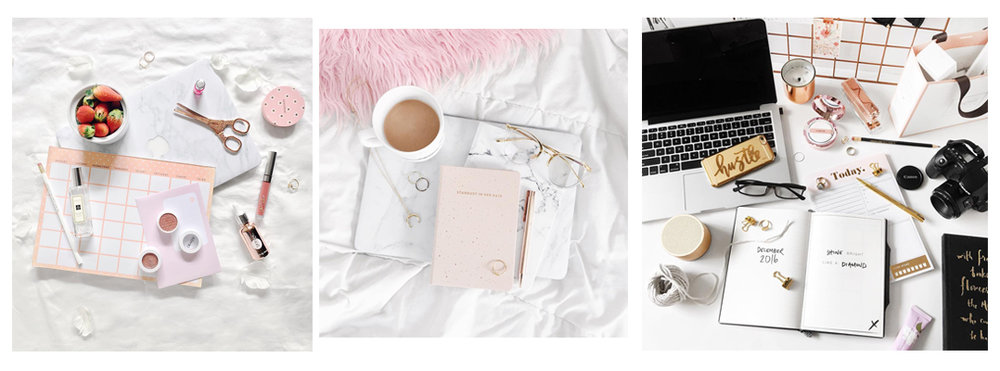
Ahh, another one of my favourite section, it also doesn't help that I am a stationery addict. The amount of notebooks/notepads that I have but don't bear to use is insane! Anyway if you noticed, most of the times my planners/notebooks photographed are blank because I don't like to have my plans/schedule shown to the world - but I really do use them! If you think we have similar style, you can consider getting a couple of pink and white or marble notebooks as they can make great accent pieces. Pens, clips, staplers are also perfect for supporting your flatlays etc. and you should already have these things in your desk so why not make full use of them!
Where to find: Kikki K (my go-to), Typo, Urban Outfitters (they do have some quirky designs), Sugar Paper LA, Ban.do. Slight pricier option: Kate Spade
COLOURED CARDBOARD/TEXTURE
Probably one of the cheapest and easiest way to amp up your photos. Sometimes an all white background can become a little boring, so you have to find ways to inject colours or textures into the photo. Tip: lay the coloured cardboard diagonally across your background for a contrasted look. I suggest getting pastel shades as they are easy on the eyes and generally gain more engagement.
Where to find: You can find coloured cardboard at any craft stores, prices will vary depending on the size you're getting. Again, depending on the nature of your photos you may not need a very big piece. As for rugs, you can purchase a faux fur rug from Ikea or Etsy.
BOOKS, MAGAZINES OR CARDS

Don't judge a book by its cover, unless you're using it as a prop. For real though, while books/magazines make good props get something that you will actually read and not just for the sake of photos. Collect cards when you're on holiday, collect cards when you're out and about, you never know when they'll come in handy for your next photo. Also, I could've included these under the stationery section but I really needed this to make it 10.
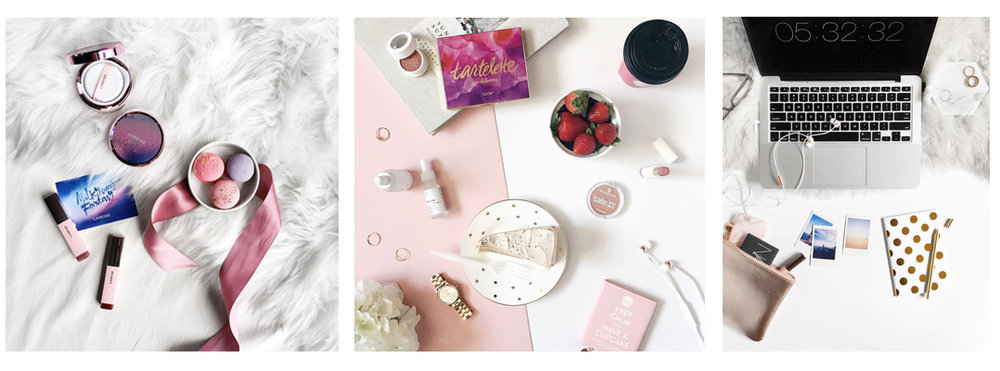
💄 MAKEUP & PERFUMES

You really can't go wrong when using makeup or perfumes just make sure that they are relevant to the photo/meaning behind it. Tip: travel-sized products help fill up spaces and make cute props!
BEAUTY TOOLS

Likewise, beauty tools such as brushes or hair pins are perfect for filling up empty spaces! My favourite is this rose gold eyelash curler that I got from Forever 21 for only $3. I don't actually use this one as I don't want mascara gunk to get stuck on it.
JEWELLERY

Sometimes when I run out of ideas on how to style a flatlay, I always throw in some jewellery/accessories like watches, bracelets, rings or sunglasses. Imagine how plain the photos would look without these pieces? And as much as I love my reflective sunglasses, avoid using them in photos otherwise you have to be mindful of the reflection unless that doesn't bother you.
CANDLES
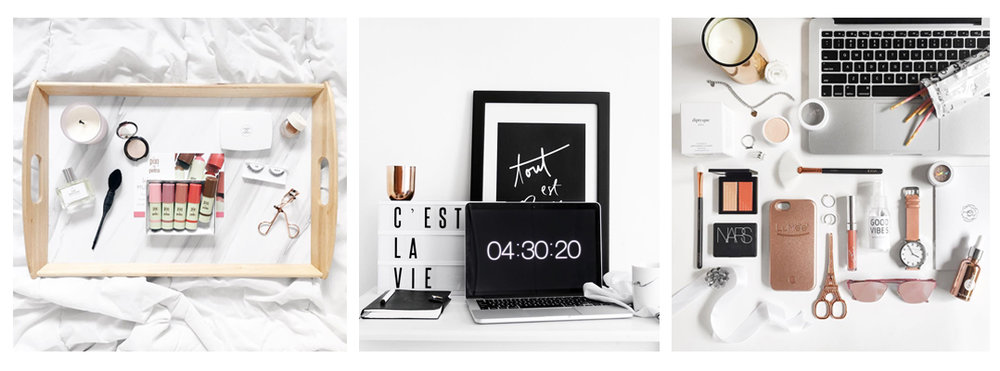
How could I not include them? Anyone that knows me will know that I'm the biggest fan (or addict) of candles, I love buying and hoarding them! But when it comes to photos they can help fill up a space that's neither too big or small.
Where to find: I have found inexpensive candles at IKEA, H&M Home or from Cotton On Home. If you're willing to splurge a little for candles that you actually want to use try Yankee Candle or Diptyque.
FOOD OR FRUITS

Another great way to add colours to your photos is by using macarons – read: macarons not macaroons. You can also enjoy these little sweet treats after, so score! I wouldn't consider food as a prop because to me props are supporting pieces, but food tends to be the focus in a photo so... yeap. Some suggestions of food for props are: croissant, donuts, JUST BE SURE TO EAT THEM!
YOURSELF/YOUR HANDS
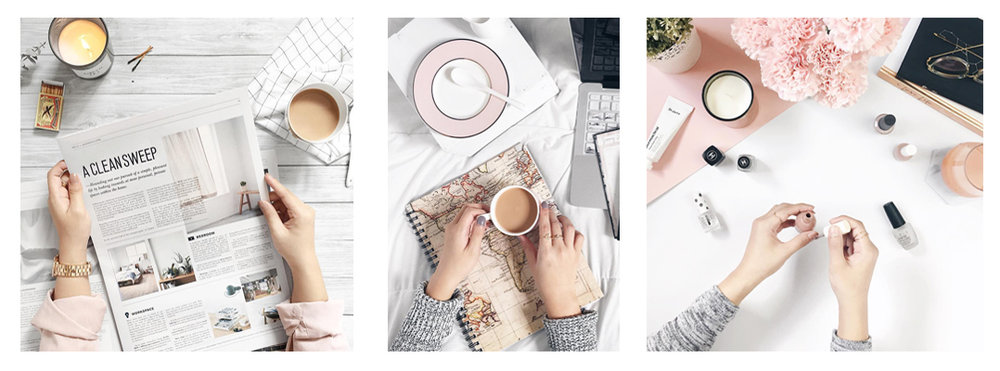
Last but not least, yourself! When you include your hands (or yourself) in photos, it adds a lifestyle feel to it and makes the photo less "flat". Tip: set your camera up on a tripod or your phone on a gorillapod.
QUICK DIY: Recently, I discovered that photo frames actually make great trays as well! So if you're on a budget, and can't justify paying so much for a marble tray, pop by IKEA or a dollar store and grab a thick and raised frame. Print out a marble background and put it in the frame as you would with a photo and there you have it!
And that rounds up 10 types of things you can include into your photos next time! Hope you found this post helpful, now go have fun and never stop creating! I have also done other similar posts (How I Edit My Instagram Photos, 3 Tips for Better Instagram Photos) if you wish to check them out. Speak soon!
Stay gold, xx

No comments
Post a Comment