


Happy June everyone! With summer almost upon those in the Northern Hemisphere (it's perpetual summer in Singapore, if you're wondering), here are two of my go-to recipes to cool you down! 💦.


I have been obsessed with homemade parfait lately, especially after I got a mason jar for Christmas. I love how you can easily prepare this the night before and have it for breakfast the next morning before starting the day and conquering the endless to-dos. Recently I got some tart trays (I think that's what they are called), so I thought maybe I could try to do my parfait in one of these instead.

What you'll need:
- fresh fruits
- yoghurt (low fat/greek)
- maple syrup
- vanilla essence
- cinnamon sugar (optional)
For the base, I used two scoops of yoghurt and a few drops of vanilla essence (mmhm!) before topping it with my favourite fruits - I like raspberries, bananas and blueberries. Preparation usually takes less than 15 minutes. Once you're done, just refrigerate it overnight and enjoy it the next day. If you were to prepare yours in mason jars, they are perfect grab-and-go. You can now have delicious and healthy breakfast at your office desk!

Tip #1: If your yoghurt is not flavoured, you can always add a few drops of vanilla essence or maple syrup/honey.
Tip #2: If you intend to make a weeks worth at a go, do not add the fruits in yet. Try to serve them fresh if possible.
I hope you guys will give this recipe a try! Trust me, it tastes as good as it looks!
Hi guys! I know I said I will be gone for a few weeks but I got really excited writing these recipes that I couldn't wait to share with you all. I decided to combine 2 recipes into one post due to time constraint & also I don't wish to flood my blog with too many posts. These two little treats are really easy to make and hopefully all the sugar can boost your mood, hence the title 'Recipe for Happiness'.

If you're looking for a new way to prepare french toast you should defo give this a try. This is not your average french toast. I repeat, not your average french toast.
I've never heard of the word 'Streusel' up till I tried to make this. In case you have no idea what this word is as well, it's basically a crumbly topping of flour, butter and sugar (which I replaced with cinnamon sugar instead). I came across this on Tumblr and it looked so mouthwatering that I had to try it out! Best part of this recipe: preparation time takes only 5 minutes. You can thank me later.
INGREDIENTS
For the french toast:
3 slices of bread torn into small pieces
3 eggs
1 cup of milk
1/4 cup of sugar
bit of vanilla extract
pinch of salt
For the cinnamon streusel:
cold butter chopped into small cubes
1/2 cup of all-purpose flour
1/2 cup of cinnamon sugar
Whisk your eggs, milk, sugar, vanilla extract and pinch of salt until smooth. Fill up your muffin tin with your bread pieces (not necessarily to the top) then pour 4-5 tablespoons (or fill up half of your tin) of your mixture over the bread pieces. Proceed to combine all the ingredients needed for the cinnamon streusel, and create small crumbs with the butter. Finish by topping them on your bread pieces.
Preheat your oven to 250 degree celsius (that was my oven's maximum heat setting anyway) and just as you're putting in your delicious goodies, lower it to about 180-200 and let it bake for 15 minutes or till it turns golden brown. Do not be alarmed when it raises out of the muffin holder because as soon as it cools down it will sink back down again.
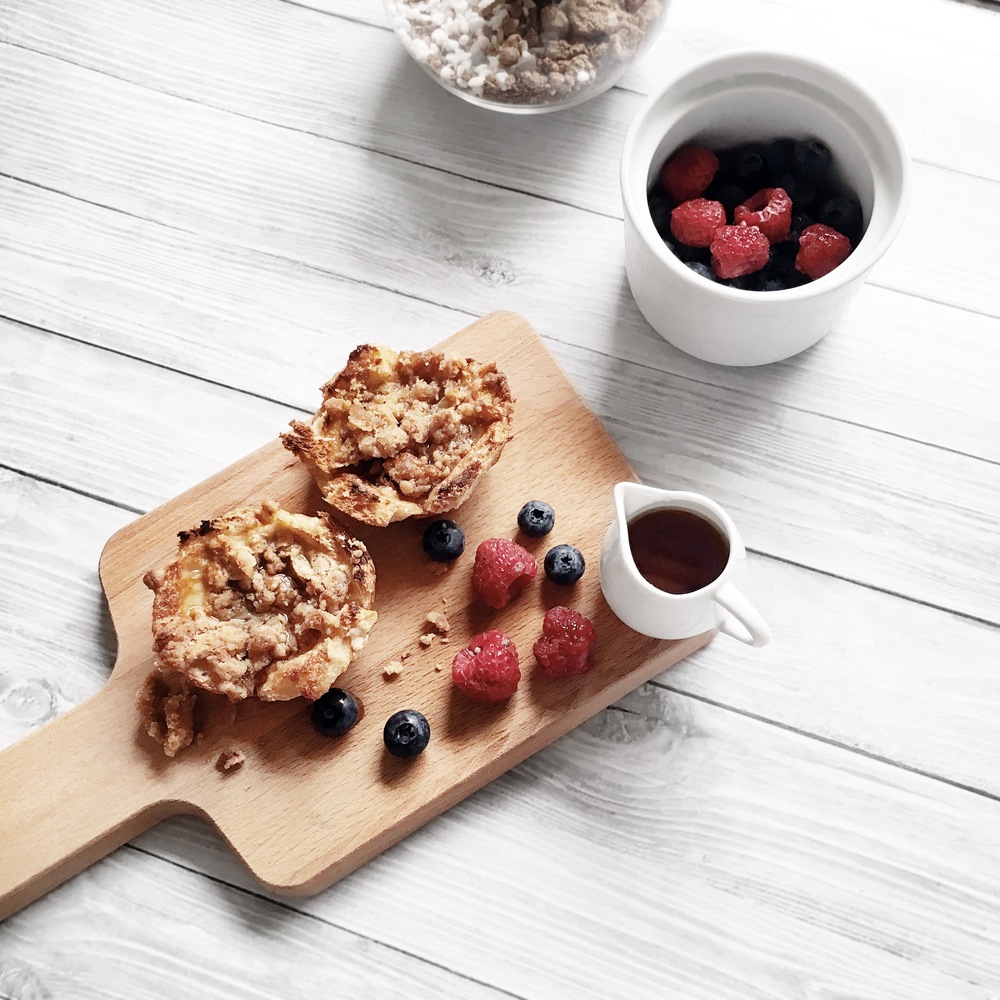
The recipe I was following said to serve with syrup, which added a whole new flavour to the french toast, but I felt it was a little too much. So in the end, I served it plain with a side of raspberries and blueberries - my favourite berries!

This no bake oreo cheesecake is a great hit with my family! You see, I'm an extremely lazy person so I prefer any recipe that is 1. easy to follow 2. easy to make. All you'll need for this recipe are 4 ingredients. Less effort more results, I say!
INGREDIENTS
For the crust:
OREOS, as many as you like
3 tablespoon of softened butter
For the filling:
250g of white chocolate, broken into smaller pieces
150g of cream cheese - less if you don't like it too cheesy/creamy
Let's start with preparing the crust, crush* the oreos into smaller bits (not too fine though) and combine it with the softened butter. Mix until it is all even then start lining your pan. Make sure that your crust is even and there are no gaps. Let your crust freeze for about 20 minutes as you prepare the filling.
First, break your white chocolate into smaller pieces so that it is easier to melt. Put them in the microwave for about a minute but give it a quick mix after every 10-15 seconds. When it's all melted, carefully pour it into a mixing bowl with the cream cheese. Mix both until smooth and set it aside. After 20 minutes, you may proceed to pour your filling over your crust. Garnish with MORE crushed oreos or any other toppings you would like. Pop it back into the freezer for another 30 minutes and you're ready to serve!
*Tips for crushing the oreos into smaller bits:
Use either a food blender or put them all in a ziplock bag and use a rolling pin to go over them. Just don't pop the bag or your kitchen will be in a huge mess!
How easy it that? Hope you will give them a try this weekend, come on I took time out of studying to write this for ya, and let me know how it goes! I'm kidding. As usual, if you have any questions leave them in the comments below and I will answer them as soon as I can.
P/s: all these photos were taken with the newest iPhone. I'm pretty impressed with the photo quality!
Beauty Picks, Visuals, Product Review
Cee T
Comment
Beauty Picks, Visuals, Product Review
Cee T
Comment
Best Foundations for Oily Skin
Beauty Picks, Visuals, Product Review
Cee T
Comment
Beauty Picks, Visuals, Product Review
Cee T
Comment
Beauty Picks, Visuals, Product Review
Cee T
Comment
Beauty Picks, Visuals, Product Review
Cee T
Comment